How to Build a Falls Prevention Programme at Work
The dispatch area is busy, rain has reached the loading ramp, and someone has left pallet wrap beside the pedestrian route. Your supervisor wants a toolbox talk before the next shift. That might help, but it won't fix the leak, change where packaging goes or establish who checks the ramp.
A falls prevention programme connects those everyday decisions to named people, practical controls and records that show what's been fixed. It covers slips and trips as seriously as work at height, without pretending that a signed attendance sheet makes either safe.
Table of Contents
- The Six Stages of a Falls Prevention Programme
- How to Find Fall Hazards Before Someone Gets Hurt
- Choosing Controls with the Hierarchy of Controls
- Training Workers and Checking Competence at Height
- Safe Procedures and What to Do After a Fall
- Monitoring Measures and When to Review
- Confirm Your First 30 Days Before Launch
The Six Stages of a Falls Prevention Programme
Start on Monday with this build sequence:
- Set scope and governance.
- Identify fall hazards.
- Assess risk and exposure.
- Choose and document controls.
- Train workers and confirm competence.
- Monitor, review and improve.
Each stage needs the previous stage's output. You can't assess exposure properly without identifying the task, and you can't sign off competence until you know the equipment and controls the worker will use.
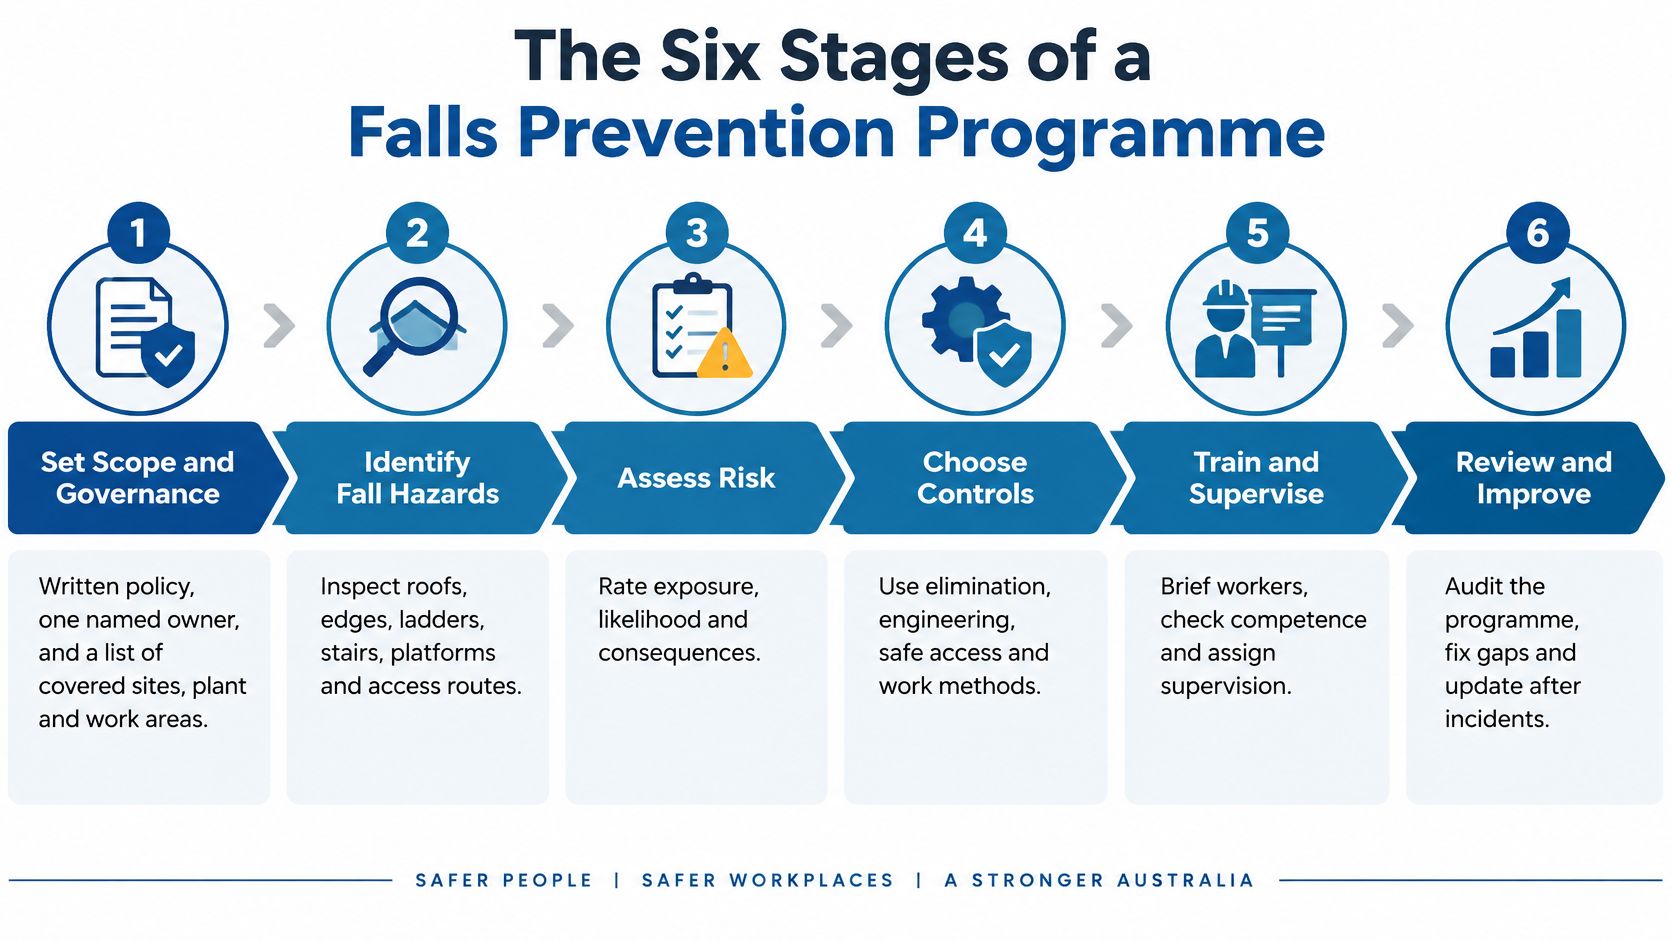
Programme stages, outputs and owners
| Stage | What You Produce | Usually Owned By |
|---|---|---|
| 1. Scope and governance | Written policy and scope covering sites, plant and contractors | WHS manager or senior leader |
| 2. Hazard identification | Site register of fall hazards by location and task | Supervisors with workers |
| 3. Risk assessment | Risk rating for each hazard and a list of who is exposed | WHS adviser with supervisors |
| 4. Controls | Documented controls ranked by hierarchy, with owner and due date | Site manager |
| 5. Training and competence | Training records and task-specific competence sign-offs | Training coordinator |
| 6. Monitoring and review | Inspection, incident and near-miss reports reviewed on a set cycle | WHS committee |
Include sites, plant, vehicles, work areas and contractors in the scope. Give the programme owner authority to escalate overdue work and arrange resources, not just responsibility for maintaining a spreadsheet. Our guide to the responsibilities of employers provides useful context for assigning that accountability.
Use the table as your first 30 days' checklist. Give every output a register reference, document location and revision date so a supervisor or inspector can follow the decisions.
Separate same-level falls, including wet floors, cables and clutter, from falls from height, including ladders, scaffolds, elevating work platforms and vehicle trays. They need different checks and controls.
NSW, with SafeWork NSW as the regulator, is the worked example here. Check your own regulator's requirements before adopting the procedures.
A programme with no owner and no records is a plan, not a control.
How to Find Fall Hazards Before Someone Gets Hurt
Walk the site before writing the procedure. Divide it into work areas, then ask workers what happens in each: deliveries, cleaning, maintenance, waste removal and breakdown recovery, not just normal production.
Inspect at the start and end of a shift. The morning route may be clear, while the afternoon route contains empty pallets, charging leads and waste awaiting collection. Use a workplace inspection checklist as a prompt, not a substitute for watching the task.
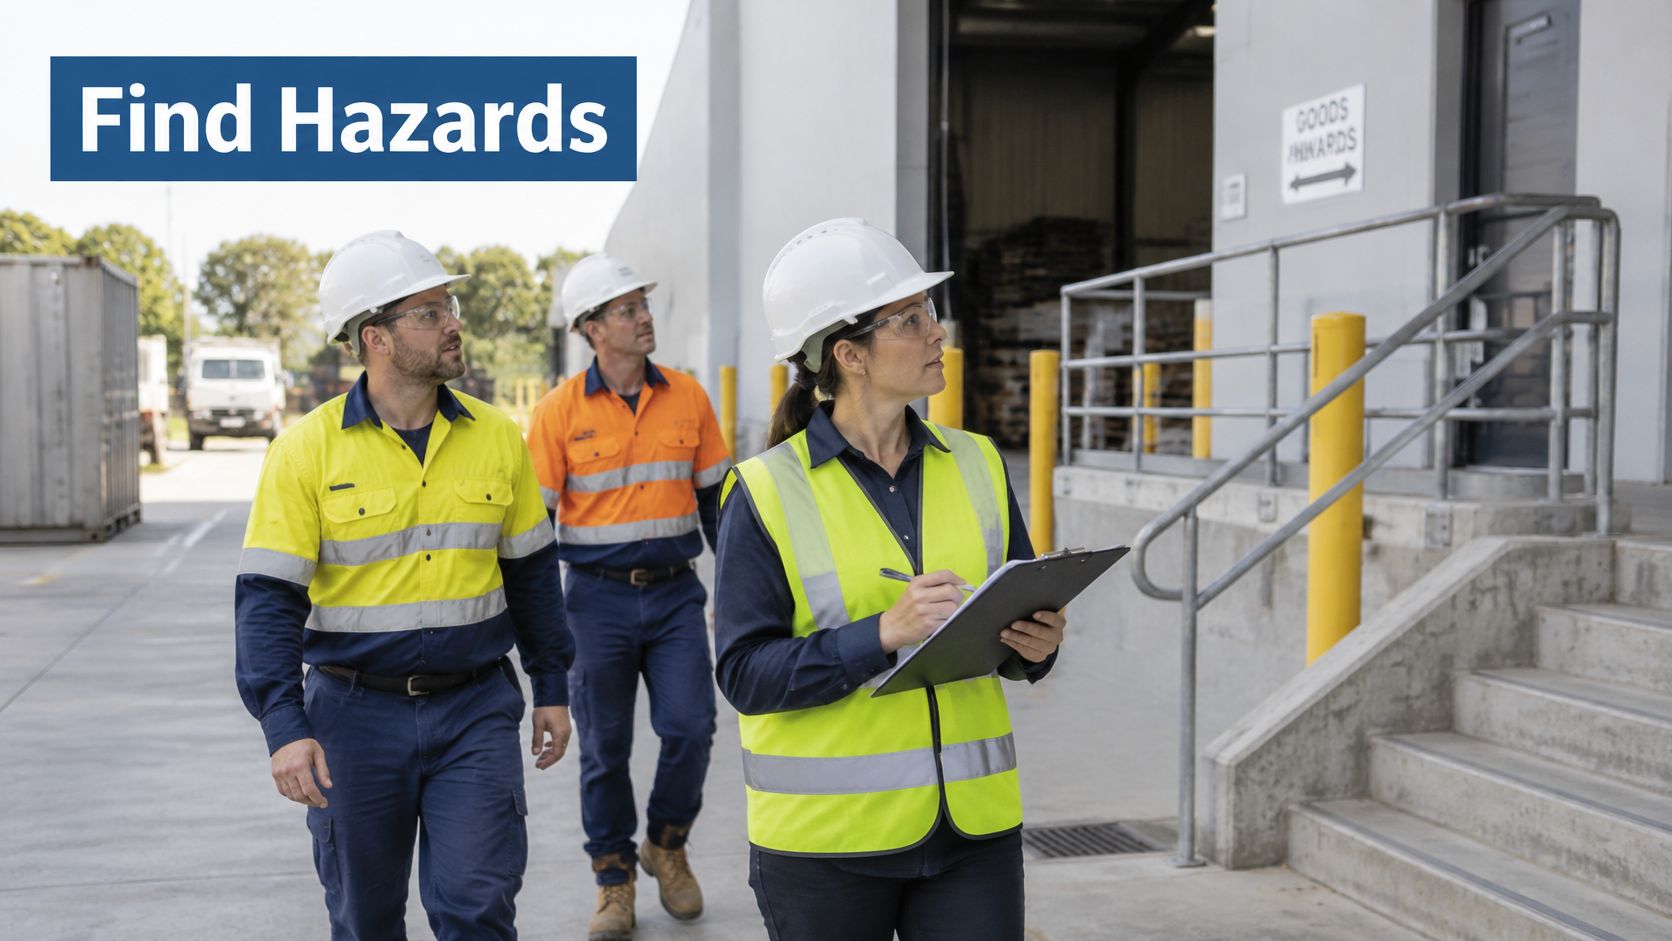
Follow the route workers actually take
Start with pedestrian access from the entrance to the workstation. Look across the floor and overhead, including where workers carry loads that obstruct their view.
- Walking surfaces: Find water, oil, broken concrete, raised joints, curled mats and loose floor coverings.
- Housekeeping: Follow hoses and cables to their source. Check whether stock, bins or packaging occupy marked walkways.
- Visibility: Check shadows, failed lights, glare and transitions between indoor and outdoor areas.
- Height access: Examine ladder condition and footing, unguarded edges, floor openings, skylights, scaffold access and inspection status.
- Stairs and vehicles: Check handrails, step condition and whether workers climb onto vehicle trays to retrieve equipment.
A scaffold tag alone doesn't establish that the scaffold is safe. Look for changed components, incomplete platforms and unauthorised alterations, then arrange competent inspection where needed.
Record the task, not just the defect
On a warehouse dispatch dock, a pallet-wrap roll beside a walkway and a puddle at the foot of the loading ramp need separate hazard entries. The roll needs a storage and disposal solution. The puddle needs its source investigated, with access controlled while it's addressed.
Give each entry a location, task description, photo or sketch, date found and exposed worker groups. Record temporary protection separately from the permanent fix.
Ask about fatigue, rushing, unsuitable footwear, unfamiliar contractors and recent task changes without turning the inspection into a search for worker fault. A worker taking a shortcut may reveal an impractical layout.
Record near-misses against the relevant hazard, or create a new entry when necessary. Finish with a register sorted by location, ready for risk assessment and immediate escalation of uncontrolled danger.
Choosing Controls with the Hierarchy of Controls
PPE is the last line of protection, not the starting point. A harness doesn't remove an exposed edge, and slip-resistant footwear doesn't remove oil from a floor. Choose the highest control you can reasonably achieve, then add supporting measures for the remaining exposure.
Hierarchy of controls applied to fall hazards
| Control Level | Fall-Related Example | Relative Effectiveness |
|---|---|---|
| 1. Elimination | Remove the need to work at height through ground-level prefabrication or lowering a cleaning task | Highest |
| 2. Substitution | Replace a ladder with a suitable mobile elevating work platform | High |
| 3. Isolation | Securely fence floor openings or restrict access to a wet floor area | High |
| 4. Engineering | Install guardrails, edge protection, anti-slip matting, handrails or better lighting | Medium to high |
| 5. Administrative | Set walkway rules, housekeeping schedules, permits and signage | Medium, dependent on supervision |
| 6. Personal protective equipment | Use a fall-arrest harness with a suitable anchorage, or slip-resistant footwear | Lowest, last resort |
These rankings guide selection, not automatic approval. An elevating work platform introduces ground-bearing, overhead and movement hazards. A cordon is only useful if people can't inadvertently enter the danger area.
Compare protection with dependence on behaviour
Consider a worker on a raised mezzanine wearing a harness beside an unprotected edge. Their protection depends on the system's design, anchorage, connection, clearance and rescue arrangements. Properly designed guardrails provide collective edge protection; a harness isn't an equivalent replacement because it's available.
For permanent barriers, Binks Balustrades' guide to building regulations for commercial barriers offers a useful UK comparison of design considerations. It isn't Australian compliance guidance, so have the applicable Australian requirements confirmed for your installation.
Where existing stairs must remain, assess handrails, tread condition, lighting and traffic flow together. A one-way rule may help at a narrow access point, but only if it doesn't compromise evacuation or create another conflict.
A short task doesn't justify paperwork-only protection. If guardrails aren't practicable, document the alternative access and fall-protection system, provide appropriate supervision and stop the task if safe arrangements can't be established. Our construction risk management guide supports that task-based approach.
Give each control an owner, due date and verification method. For example, nominate who inspects guardrails and who checks that a redesigned walkway stays clear during dispatch.
Practical rule: A control without an owner and a check is a wish, not a control.
Training Workers and Checking Competence at Height
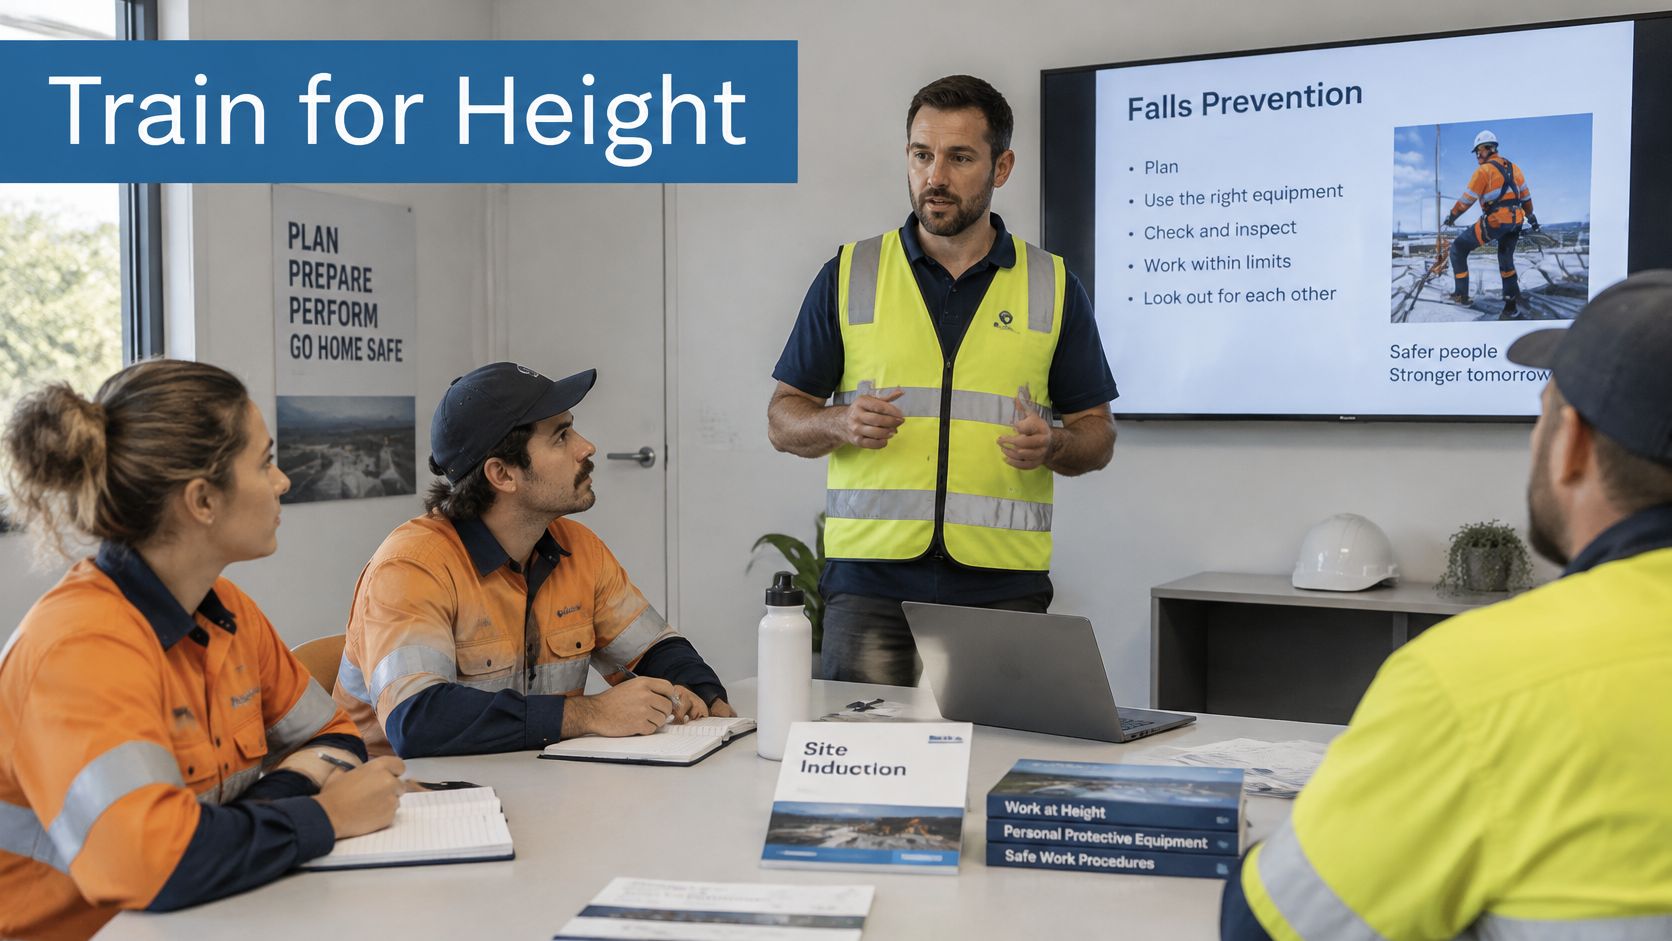
Build the training matrix around roles and tasks, not a catalogue of courses. Someone unloading deliveries needs to recognise changing pedestrian hazards. Someone operating a platform also needs to demonstrate safe operation on that platform.
Every worker needs a site induction covering their own area, reporting arrangements and stop-work escalation. Supervisors need enough knowledge to inspect work, assess changing conditions and investigate incidents without stopping at “the worker wasn't paying attention”.
Match the check to the job
Training and checks by worker role
| Worker Role | Required Training or Check | When Needed |
|---|---|---|
| All workers | Site induction covering their own area and how to report slips, trips and falls | Before first task on site |
| Supervisors | Hazard inspection, risk assessment and incident investigation training | Before supervising the relevant work |
| Workers at height | Relevant working-at-heights training, such as RIIWHS204E, plus task-specific competence sign-off | Before first task at height |
| Operators of platforms within the under-11-metre training category | Relevant EWP training, commonly called a Yellow Card, plus on-equipment competence check | Before first use of each platform type |
| Operators of boom-type platforms requiring a high-risk work licence | Applicable high-risk work licence plus on-equipment competence check | Before first use |
Confirm licensing against the machine's specifications and current regulator requirements. Don't use working height, platform height and boom length interchangeably, or assume a Yellow Card replaces a licence where one is required.
Observe the worker completing the task on the actual equipment. Record the equipment type, task, assessor, demonstrated skills, restrictions and refresher or reassessment date. A labourer familiar with a stepladder needs a separate check before operating a scissor lift.
Choose delivery that supports demonstration
Online learning can support knowledge, but it can't replace observing practical equipment skills. We offer workplace-based training, online options, classroom settings and group sessions, and TP Training is accredited by SafeWork NSW. Match the delivery and assessment to the task rather than choosing convenience alone.
For specialist façade work, Professional Window Cleaning's high-rise window cleaning certification options provide context for comparing specialist training pathways, not a statement of Australian licensing requirements.
Use changes in equipment, unsafe performance and extended time away from a task to trigger reassessment. Our working-at-heights refresher training guide helps supervisors plan that discussion.
Safe Procedures and What to Do After a Fall
Keep the pre-start procedure separate from the incident response. During an emergency, workers need an obvious action sequence, not a search through a lengthy safe work document.
For window-access planning, Aloha Window Bros' discussion of ladder safety for upper-story windows provides task context. It doesn't replace your assessment of whether a ladder is suitable or whether a safer access method is needed.
Before work starts
- Check the permit or task plan, including conditions that require work to stop.
- Inspect the access and protection equipment, including ladders, platforms and any specified harness anchorages.
- Confirm the exclusion zone, so pedestrians and other workers can't enter the exposed area.
- Brief the crew on the rescue plan, including who performs the rescue and how help is called.
Before harness work, name the rescue person, identify retrieval equipment and establish how a suspended worker will be reached promptly. Rehearse the sequence with the crew. Calling emergency services isn't a substitute for a workable site rescue arrangement.
After a fall or near-miss
- Make the area safe, without exposing another worker or moving an injured person unless immediate danger requires it.
- Call emergency services for suspected head, neck, spinal or hip injury, or if the person can't get up, and follow the operator's instructions.
- Report to the supervisor immediately, so assistance and site controls can be coordinated.
- Check notification requirements immediately, notify SafeWork NSW when required and preserve the incident site subject to emergency and safety exceptions.
- Record the event, including photographs when safe and appropriate.
- Investigate the causes, including layout, equipment, supervision and work pressure.
- Update the hazard register and controls, then brief affected workers before restarting.
The potential consequences justify clear escalation: among older Australians hospitalised after a fall in 2019–20, fractures accounted for 50% of cases, 93% of admissions were emergencies and the average stay was 9.5 days, according to the Australian Institute of Health and Welfare. Those figures describe older patients, not workplace injury rates.
A worker returning after hospital may need medical clearance, restricted duties and a revised access method. Coordinate that through the return-to-work process, rather than letting the worker resume the same task by default.
Print both checklists and add them to the toolbox talk schedule. Connect them with your workplace first aid arrangements so workers know who responds and where equipment is kept.
Monitoring Measures and When to Review
Track whether people are delivering controls as well as whether injuries occur. Leading indicators reveal unfinished prevention work. Lagging indicators show harm that has already happened.
Use the following as a proposed management schedule, then adjust it to the site's exposure and operating conditions. These are programme review intervals, not a statement of statutory inspection frequencies.
Leading and lagging measures to track
| Measure | Type | How Often | What It Signals |
|---|---|---|---|
| Hazard inspections completed on schedule | Leading | Weekly | Gaps in coverage |
| Hazards closed by due date | Leading | Monthly | Controls not being delivered |
| Near-miss reports raised | Leading | Monthly | Reporting culture and early warnings |
| Workers with current task-specific training | Leading | Monthly | Competence gaps |
| Falls and slips resulting in injury | Lagging | Quarterly | Controls not working |
| Lost-time injuries from falls | Lagging | Quarterly | Severity trend |
| Full programme review | Review | Annually or after a major change | Outdated plan |
Read the measures together
More near-miss reports at a previously silent site may indicate that workers are finally speaking up. Check the descriptions and reporting access before treating the increase as deteriorating safety.
Inspections completed on time while hazards remain overdue point to a control-delivery problem. Ask whether the owner lacks purchasing authority, maintenance support or a safe opportunity to complete the work.
Falling injury counts alongside falling inspection activity don't establish improvement. Compare work activity, reporting participation and unresolved hazards before drawing conclusions.
Trigger additional reviews after new equipment, a site move, a new contractor, a serious incident or regulatory change. Involve workers and the WHS committee, record decisions and report back to the people affected.
Set an annual full review as your baseline management commitment. Check whether closed hazards stayed fixed, not just whether someone changed their status.
The measure that matters most is whether the unresolved hazard register is smaller than it was last quarter, without suppressing new reports.
Confirm Your First 30 Days Before Launch
Use the first 30 days as an implementation window, not a grace period for leaving dangerous work uncontrolled. Stop or isolate unsafe tasks immediately while the wider programme takes shape.
The launch test is whether supervisors can use the system during a busy shift. A polished policy that requires someone in head office to interpret every entry isn't ready.
Turn the schedule into assigned work
- Week 1: Name the programme owner and confirm the scope in writing. Include sites, plant, vehicles and contractors, and establish who can approve resources.
- Week 2: Complete the highest-risk area's hazard register first. Walk it at the start and end of a shift, and involve the workers who use it.
- Week 3: Rate each hazard and assign every control an owner and due date. Challenge any decision that jumps straight to signage, procedures or PPE.
- Week 4: Identify workers and supervisors missing task-specific training, prioritise height-related tasks and add the monitoring schedule to the WHS committee agenda.
For the training bookings, our Work Safely at Heights course, RIIWHS204E, is one-day face-to-face training for working at heights. Our Elevating Work Platform Yellow Card course, RIIHAN301E, is one-day training for operating EWPs under 11 metres. Select training against the actual task and equipment, and don't treat course completion as permission to bypass site controls.
Before launch, ask a supervisor to retrieve a hazard entry, explain its control and identify who checks it. Ask a worker to show how they report a near-miss. Fix any gaps before declaring the programme operational.
Go or no-go: if you can't name who will implement and check each control, the programme isn't ready. This week, book the walk of your highest-risk area and name the owner in writing.
TP Training offers practical working-at-heights and EWP training to support the task-specific skills in your falls prevention programme. Visit TP Training to review training options and match your team's bookings to the work and equipment identified in your hazard register.

You may also like

Construction White Card Online: Is It Valid in NSW?
Traffic Control Responsibilities in NSW Explained